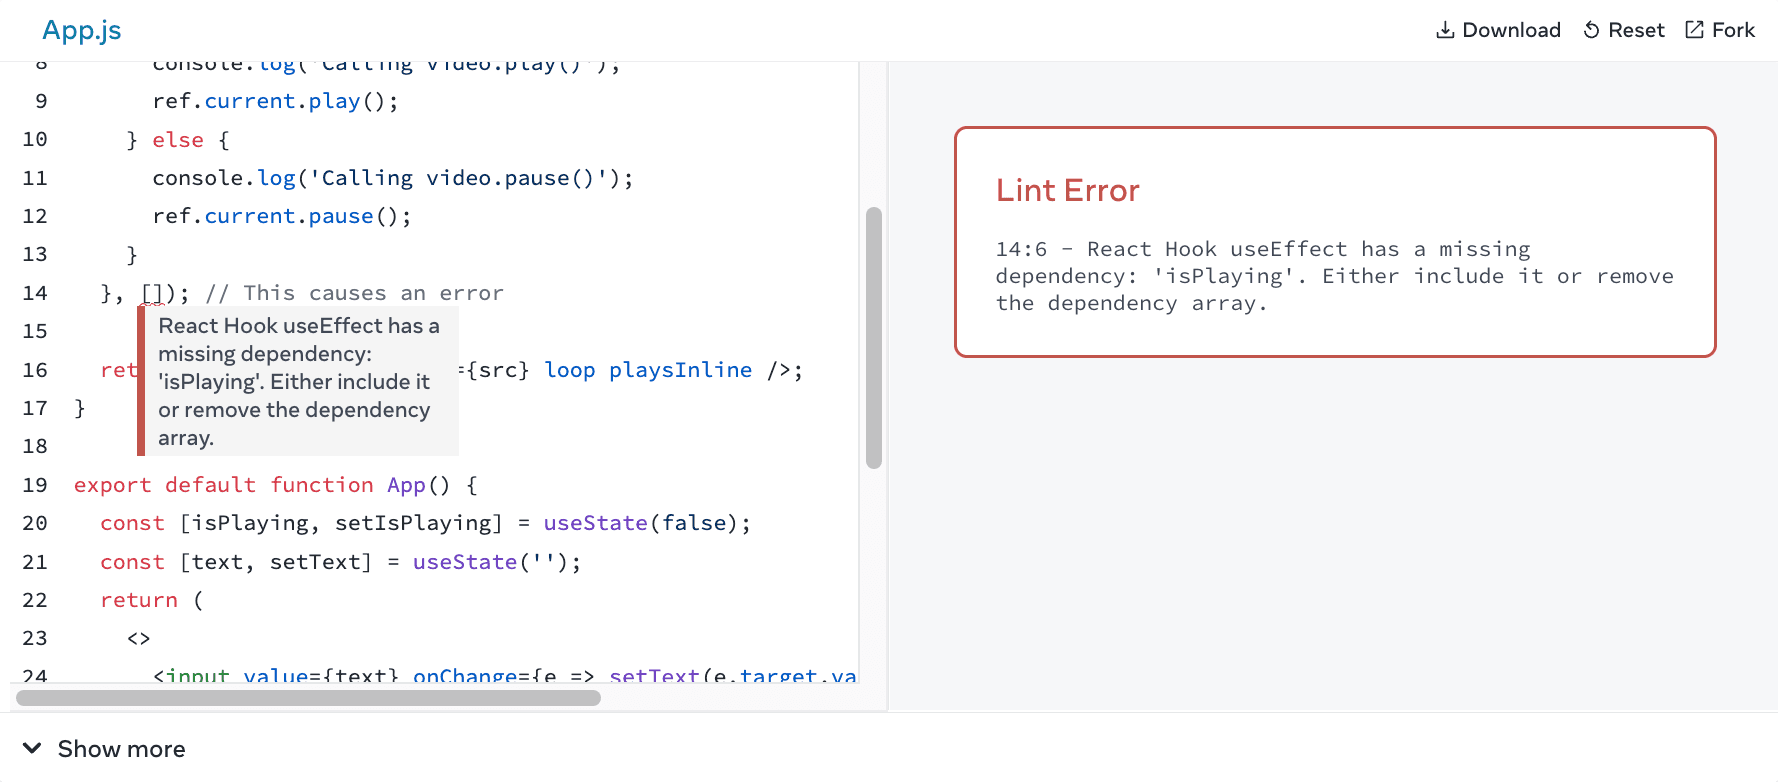
One of the most important elements in a developer blog or technical documentation is the code playground. Also known as a “sandbox”, this widget lets you edit a code snippet and instantly see the results.
Here's the playground I use on this blog:
Hello World!
function App() {
  return (
    <>
      <h1>
        I'm a playground!
      </h1>
      <p>
        You can edit this text. 😄
      </p>
    </>
  );
}

export default App;
I recently rebuilt this blog's playground, using Sandpack(opens in new tab), a modern playground framework built by the folks at CodeSandbox. It's phenomenal. I'm super happy with it, and I thought it'd be helpful for me to share what I've learned about this tool.
This is not a sponsored post. These are my honest thoughts on a tool I actually use, on this blog and in my course platform.
Link to this headingAbout Sandpack
A few years ago, Dutch developer and all-around wonderful person Ives Van Hoorne launched CodeSandbox(opens in new tab), a browser-based development environment.
The "secret sauce" for CodeSandbox has been the in-browser bundler. It can fetch dependencies from NPM, transpile your JSX, and even supports modern quality-of-life features like hot module reloading. It does this all in-browser, without needing to download hundreds of megabytes of build-system code. It's wild.
Sandpack is the actual bundler used by CodeSandbox. They've open-sourced it. So you're getting the battle-tested code they've been iterating on for years.
There are two relevant repositories:
- sandpack-client(opens in new tab), a lightweight JS client that sits on top of the bundler
- sandpack-react(opens in new tab), a fully-featured React-based playground, built on top of sandpack-client.
In this article, we'll be talking mostly about sandpack-react.
Link to this headingA composable API
One of the coolest things about Sandpack's React bindings is that they offer several levels of abstraction.
At the highest level, a <Sandpack> component will create an entire playground for you in one line of code. Here's a quick “hello world”:
This example uses the “React” template, but Sandpack include many other templates(opens in new tab), including Vue, Svelte, Angular, and more.
Each template produces a ready-to-go application, complete with multiple (virtual) files. The React template uses create-react-app, with a root /index.js, an /App.js, and a /public/index.html.
To include our own starter code, we can overwrite any of these files with the files prop:
If we supply multiple files, Sandpack will show a tab bar letting us switch between them:
As you'd expect, we can pick from several pre-defined themes(opens in new tab). For example, we can use Sarah Drasner's wonderful “Night Owl”(opens in new tab) theme:
If you'd like, you can build your own theme(opens in new tab) with their handy-dandy tool.
Link to this headingLower-level components
The <Sandpack> component is the fastest way to get started using Sandpack, but it offers the least amount of flexibility.
Instead, you can build your own playground by mixing and matching the provided lower-level components.
For example: the <Sandpack> component comes with a built-in responsive layout, showing the code side-by-side on large screens, but stacking vertically on smaller screens. What if we wanted them to stack vertically all of the time?
We could do this by using the lower-level components:
This is really cool. Sandpack exposes all of the LEGO™ bricks we need to build the playground of our dreams.
SandpackProvider is our main component, the one that takes a set of files and bundles them into an application. It then provides the necessary data to all child components via React context.
There are lots of additional LEGO™ bricks for us to mix and match, including things like SandpackFileExplorer, SandpackConsole, and SandpackTests.
For full customization, however, we need to access the underlying state. And that's where their custom hooks come in.
Link to this headingFull control with hooks
In addition to exposing a bunch of low-level components, Sandpack also comes with several custom hooks.
For example, let's suppose we wanted to know which file was currently selected, in the code editor. We could get that information with the useSandpack hook:
For a more practical example: let's suppose we don't like the built-in “Refresh” button. Here's how we could build our own:
This is so cool! Not only can we read state, we can trigger updates.
Internally, Sandpack uses a Redux-style action dispatcher. The refresh function will dispatch the appropriate action for us, to trigger a page refresh.
We can even access the dispatcher directly. This means that, if we're willing to spelunk through their codebase, we could figure out how to change any state / trigger any event. We have an amazing amount of control.
On this blog, I use the lower-level components and the hooks to add things like:
- A "format" button, to format the code with Prettier
- A "reset" button, to revert the code to its initial state
- A console, showing any console messages
- My own custom layout and aesthetic
Here's my custom wrapper, with these features:
Hello World!
function App() {
  return (
    <>
      <h1>
        I'm a playground!
      </h1>
      <p>
        You can edit this text. 😄
      </p>
    </>
  );
}

export default App;
On my course platform, I take it even further, adding things like:
- Automatic saving, so that any code changes are persisted to localStorage and restored on subsequent visits
- Integrated ESLint warnings
- A "fullscreen" mode, where the editor fills the screen
- A "Strict Mode" toggle that flips React-based code to/from Strict Mode.
I've spent a lot of time refining my playground, and so far, I've been able to implement every feature I wanted. The amount of flexibility that Sandpack provides is wild.
Link to this headingCustomizing the editor
By default, Sandpack uses CodeMirror(opens in new tab) as its code editor.
This is a bit surprising; CodeSandbox uses VSCode as its editor, and so I thought for sure Sandpack would use Monaco(opens in new tab), the editor that powers VSCode.
After experimenting with it, however, I've discovered I quite like CodeMirror. It's not as fully-featured as Monaco, but then it doesn't need to be; most web-based playgrounds are meant to demonstrate a concept, not serve as a daily-driver editor.
CodeMirror is also highly extensible. For example, the wonderful new React docs(opens in new tab) make use of the @codemirror/lint(opens in new tab) NPM package to show lint warnings in the editor.

Because Sandpack is so modular, however, you don't need to stick with CodeMirror if you don't like it! In fact, they even have a guide for switching to Monaco(opens in new tab)!
Link to this headingSelf-hosting the bundler
Something interesting about the way Sandpack is architected: the bundler isn't running locally.
When we render a <SandpackPreview> component, it produces an iframe. This iframe is hosted by CodeSandbox, and all of the bundling happens on their external domain.
Essentially, when the user makes a change to the code in the editor, the new code is dispatched over to the site in the iframe. That page will re-bundle the code and display the new result.
The good thing about this approach is that it's secure. If the user writes some JS that attempts to read cookies / localStorage, for example, they'll be accessing the stuff on CodeSandbox's domain, not your own.
That said, I was a bit wary of having such a hard dependency on an external service. If CodeSandbox ever goes down, I don't want it to affect my playgrounds!
Fortunately, there is another option: self-hosting.
Essentially, we can build + deploy the bundler code ourselves, to whatever domain we'd like. Then we can specify that domain when rendering a Sandpack instance:
<Sandpack
  options={{
    bundlerURL: 'https://my-hosted-bundler.com',
  }}
>
This way, we get the security benefits of an externally-hosted preview, while still maintaining 100% control.
You can learn how to self-host the bundler(opens in new tab) in their docs.
Link to this headingOpening in CodeSandbox
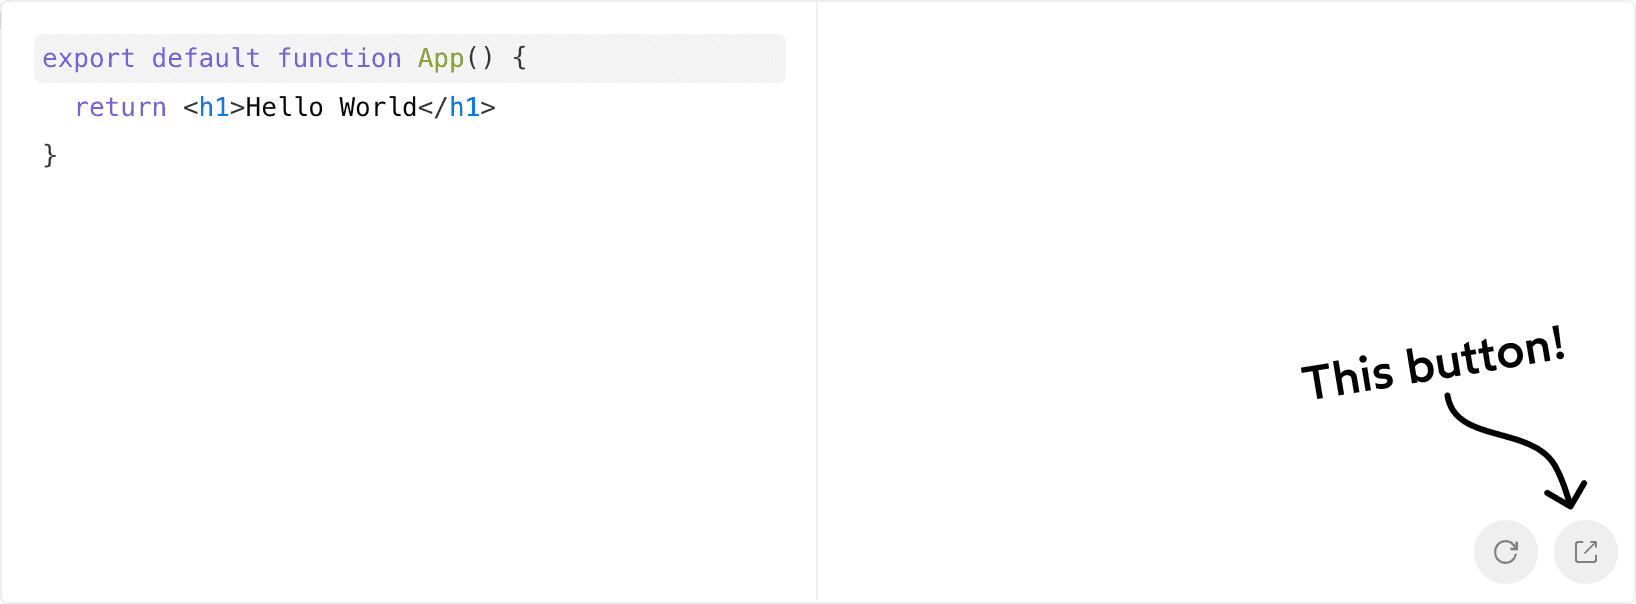
By default, Sandpacks render with a lil’ button that will open the current code in CodeSandbox:

Initially, I didn't think much of this feature, but I've come to realize that it's amazing.
It makes it super easy for folks to share chunks of code. If someone gets stuck on something and need help, they can click this button and send me the URL, instead of having to describe what they did, or copy/paste all of the code (which is often split across multiple files).
This feature works even when self-hosting the bundler.
If you'd rather not have any sort of explicit dependency on CodeSandbox, this button can easily be omitted with a prop:
<SandpackProvider template="react">
  <SandpackCodeEditor />
  <SandpackPreview
    showOpenInCodeSandbox={false}
  />
</SandpackProvider>
Link to this headingIntegrating with MDX
As I've written about before, this blog is built with MDX(opens in new tab).
If you're not familiar with MDX, it's a Markdown-based format that allows me to embed custom React components within the document. It's the best of both worlds: I can author new blog posts easily, without having to wrap each paragraph in a <p> tag. At the same time, I can include all manner of custom content using bespoke React components.
To use Sandpack inside MDX, I suggest creating your own Playground component which includes all of the customizations you want to make, and make it available to the MDX scope. Here’s what this looks like using next-mdx-remote(opens in new tab):
import Playground from '@/components/Playground';

export default function BlogPost() {
  return (
    <MDXRemote
      source={/* Pass in the raw MDX content here */}
      components={{
        // Specify the Playground here:
        Playground,
      }}
    />
  )
}
Then you can use your Playground component directly in your blog posts!
This is an example of how you’d render a _playground_ inside MDX:

<Playground
  preset="react"
  files={{
    '/App.js': 'Code goes here',
  }}
/>
Link to this headingDrawbacks
So, overall, I've found very little to complain about. Using Sandpack has been a really smooth experience, and when I've run into small issues, the team has been very responsive(opens in new tab). In fact, they’ve even fixed the two issues I mentioned in the original version of this blog post!
Originally, I had mentioned that Sandpack didn’t include a “static” template, one which used plain HTML/CSS/JS. The main feature of Sandpack is its bundler, which makes it kind of an awkward fit for code that doesn’t need to be bundled!
The CodeSandbox team has since included a Static template. It works well, and I've been using it extensively in my custom course platform. The only issue is that it uses Service Workers, which are blocked if the user blocks third-party cookies. For folks who use the Brave browser, or who customize their privacy settings, the playground may not be able to run.
Link to this headingIn conclusion
Having a live-editable code editor + preview is an essential part of any educational developer resource.
As I wrote about in my blog post “How To Learn Stuff Quickly”, there needs to be an active component for a tutorial/resource to be effective. Playgrounds allow the learner to tinker with ideas, experiment, and commit the lessons to memory.
For the past few years, I've been focused on building the best developer courses on the internet, and Sandpack has been instrumental; I have over 800 Sandpack instances across my two courses!
I recently released The Joy of React(opens in new tab), a comprehensive course about React.js. If you’ve struggled to really feel like you “get” React, you can build an intuition for it with my interactive course.
You can learn more about the course, and discover the joy of building with React:
I'm really grateful to the team at CodeSandbox for building and maintaining such an amazing free resource. Thanks to Ives and Danilo from CodeSandbox for reviewing this blog post. 💜
Last updated on
July 24th, 2024
